Replacement Pods & Coils
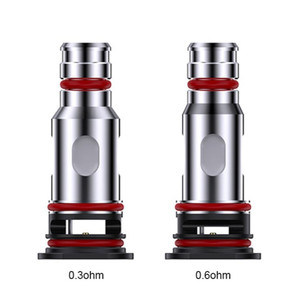
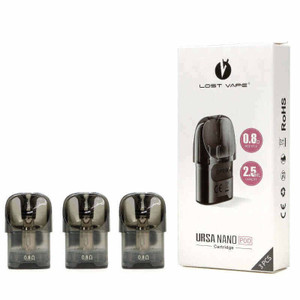
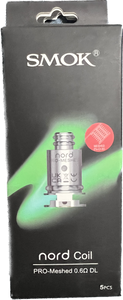
Whether you use a vape mod or a pod system, you’re going to need a constant supply of replacement coils because no component of your vaping device takes more abuse than the coil. The vape coil is the component of your device that generates the vapor, so it’s responsible for your device’s vapor production and flavor quality. When it’s time for some replacement coils, our Atlanta vape delivery service has you covered. Order your supplies now, and a friendly Brand Ambassador will deliver them to your home or office the next day.
How to Choose the Right Replacement Coils for Your Device
When you buy replacement coils for your vaping device, the most important thing to remember is that vape coils aren’t interchangeable with one another – you need to select the right coil for the hardware you’re using.
- If you’re using a pod system, the coil must be compatible with your device.
- If you’re using a vape mod, the coil must be compatible with the tank that you’re using. The brand of the mod itself is irrelevant because a vape mod can work with any vape tank.
How Often Do You Need Replacement Coils?
Because your coil is responsible for your device’s flavor quality, a change in flavor is the most obvious sign that it’s time for a replacement coil. When your device’s coil is past its prime, you’ll begin to notice an unpleasant burnt flavor when you vape. When the burnt flavor becomes so bad that you begin to find it difficult to enjoy vaping, it’s time for a new coil. On average, most people find that they need to replace their coils every few days. To make your coils last as long as possible, use e-liquid that’s unsweetened or minimally sweetened.
How to Replace a Vape Coil
Before you can replace your vape coil, you need to remove the old coil from your device. If you’re using a pod system, remove the pod and pull the old coil out from the bottom of the pod. If you’re using a tank-based device, remove the tank from your mod and unscrew the tank’s bottom metal hardware. You’ll find the coil either screwed into the tank's base or pressed into the tank’s center chimney.
After you’ve removed the old coil, it’s time to install the new one. Prime the coil by putting a little vape juice on each of the coil’s white wick holes. Install the coil and fill your tank or pod. Priming the coil helps to promote complete saturation of the wick, but you should still wait several minutes before vaping after installing a new coil. Waiting helps to ensure that the cotton will have no dry pockets and that you’ll get great flavor from the first puff.


